How To Make Ghee From Butter
Are you a fan of the rich, nutty flavor of ghee? Did you know that you can easily make it at home using just unsalted butter and a few simple steps? Homemade ghee is not only delicious but also allows you to control the quality of ingredients and ensure a fresh, homemade product. In this article, we will guide you through the process of making ghee from butter, providing you with a traditional recipe and step-by-step instructions.
Key Takeaways:
- Making ghee at home is simple and allows you to control the quality of ingredients.
- Homemade ghee offers a fresher and more flavorful alternative to store-bought options.
- The process of making ghee involves melting the butter, separating the milk solids, and straining the ghee.
- Choosing high-quality ingredients, such as unsalted butter, is essential for making delicious ghee.
- Storing homemade ghee properly will help maintain its freshness and quality.
Understanding Ghee and Its Cultural Significance
Ghee, a type of clarified butter, holds immense cultural significance in traditional Indian cooking. Its rich history and distinct flavor make it a staple ingredient in Indian cuisine. Let’s explore the definition of ghee and clarified butter, its role in Indian cooking, and delve into the historical background of ghee-making.
Definition of Ghee and Clarified Butter
Ghee is a type of clarified butter that is obtained by simmering regular butter. During this process, the milk solids and water separate from the pure butterfat, resulting in the creation of ghee. The removal of these impurities gives ghee its smooth texture, nutty aroma, and rich flavor.
Ghee’s Role in Traditional Indian Cooking
In Indian cooking, ghee is highly treasured for its versatility and distinctive taste. It is commonly used for sautéing, frying, and deep-frying due to its high smoke point, which means that it can withstand high temperatures without burning.
Moreover, ghee is widely utilized as a cooking fat for various Indian dishes. Its unique flavor adds depth and richness to curries, lentils, rice, and bread. Ghee is also used in traditional Indian sweets and desserts, imparting a delightful aroma and enhancing the overall taste.
The Historical Background of Ghee
The history of ghee-making can be traced back to ancient times. References to ghee can be found in ancient Ayurvedic texts, which are ancient Indian medical and wellness treatises, as well as religious scriptures. Ghee holds a special place in Indian culture and is often used in religious ceremonies, rituals, and festive celebrations.
The traditional method of making ghee involves a slow and careful process to ensure the highest quality and flavor. This historical practice has been passed down through generations, preserving the essence of ghee-making as a sacred culinary art.
With its long-standing cultural significance and rich heritage, ghee continues to be cherished and used in Indian households and restaurants around the world. The next section will explore the benefits of homemade ghee over store-bought alternatives, detailing why making ghee at home is a worthwhile endeavor.
Benefits of Homemade Ghee Over Store-Bought
Making ghee at home offers several advantages over buying store-bought ghee. With homemade ghee, you have the freedom to choose high-quality ingredients, such as organic or grass-fed butter, ensuring a more nutritious and flavorful end product. By selecting the right butter, you can have better control over the quality and taste of your ghee.
Additionally, making ghee at home can be more cost-effective. You can make ghee in larger quantities, allowing you to save money in the long run. Homemade ghee also has a longer shelf life, so you can store it for extended periods without compromising its quality.
Another benefit of making ghee at home is the ability to customize the flavor and consistency to suit your preferences. You can experiment with different cooking techniques or add herbs and spices to enhance the taste of your ghee.
By opting for homemade ghee, you can enjoy all the advantages it offers: higher quality, cost-effectiveness, and customization. Whether you’re a cooking enthusiast or simply want to savor the goodness of homemade ghee, making ghee at home is a rewarding and delicious experience.
Ingredients and Tools Required for Making Ghee
Making ghee is a simple and rewarding process that requires minimal ingredients and tools. To start making ghee at home, you will need:
Choosing the Right Butter
The quality of the butter you use for making ghee will greatly impact the final taste and aroma. When selecting butter for ghee, it is recommended to use unsalted butter. This allows you to have better control over the salt content in the final product. Additionally, opting for high-quality butter, such as organic or grass-fed butter, will result in a more flavorful ghee.
Essential Utensils for Ghee Making
To successfully make ghee, you will need a few essential utensils:
- A heavy-bottomed saucepan or skillet: This will help distribute heat evenly and prevent the ghee from burning.
- A mesh colander or strainer: This will be used to separate the milk solids from the clarified butter.
- A clean jar for storing the ghee: Choose a jar with a tight-fitting lid to keep the ghee fresh and free from contaminants.
With these ingredients and tools on hand, you are well-equipped to embark on your ghee-making journey.
How to make ghee from butter
Making ghee from butter is a simple and straightforward process that can be easily done at home. By following a few steps, you can create your own homemade ghee, packed with flavor and nutrients.
To begin the ghee making process, you’ll need:
- Unsalted butter
- A heavy-bottomed saucepan or skillet
- A mesh colander or strainer
- A clean jar for storing the ghee
Here is a step-by-step guide on how to make ghee:
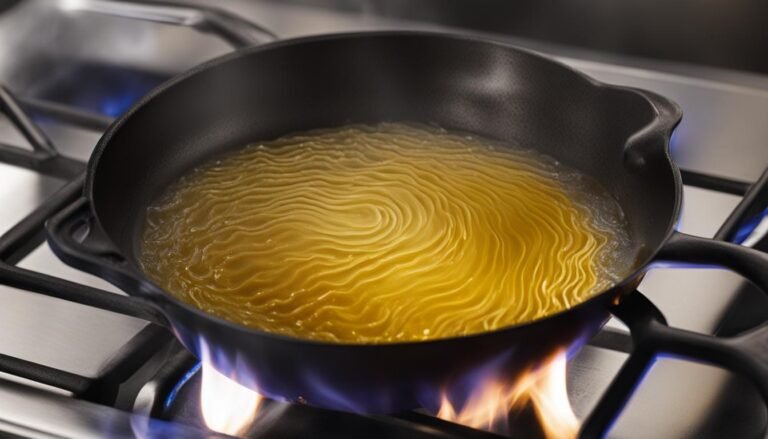
- Melt the butter: Place the unsalted butter in a heavy-bottomed pan or skillet over low heat. Allow the butter to melt completely.
- Separate the milk solids: As the butter melts, it will start to separate into three layers: the foam on top, the clarified butter in the middle, and the milk solids at the bottom. Skim off the foam and discard it. The milk solids can be strained out later.
- Simmer the butter: Continue to cook the butter over low heat, allowing it to simmer gently. This will help evaporate any remaining moisture and enhance the flavor of the ghee.
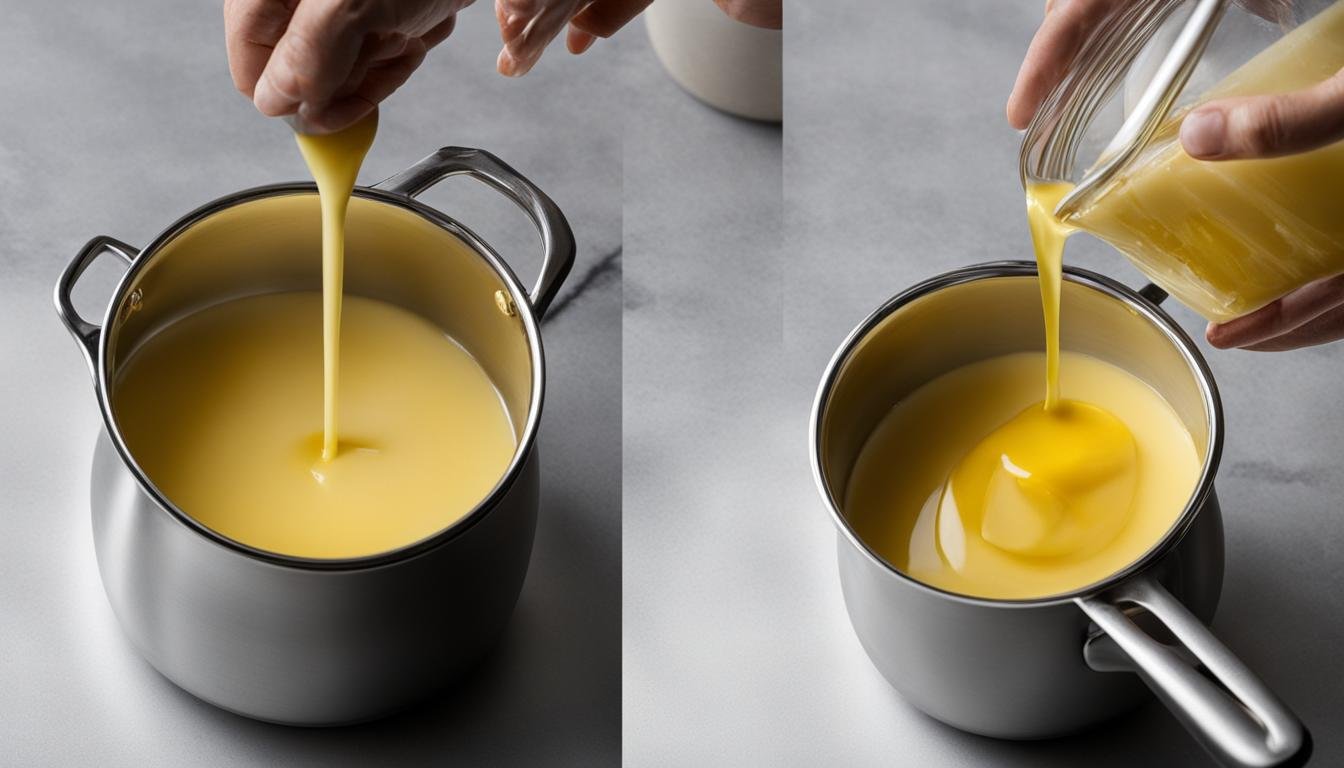
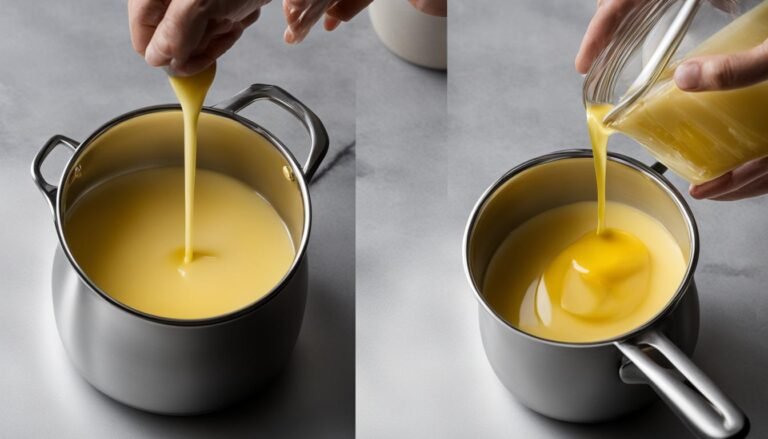
- Strain the ghee: Once the butter has simmered for a while and the milk solids have settled at the bottom of the pan, carefully pour the clarified butter through a mesh colander or strainer. This will help separate the milk solids from the ghee, ensuring a smooth and pure end product.
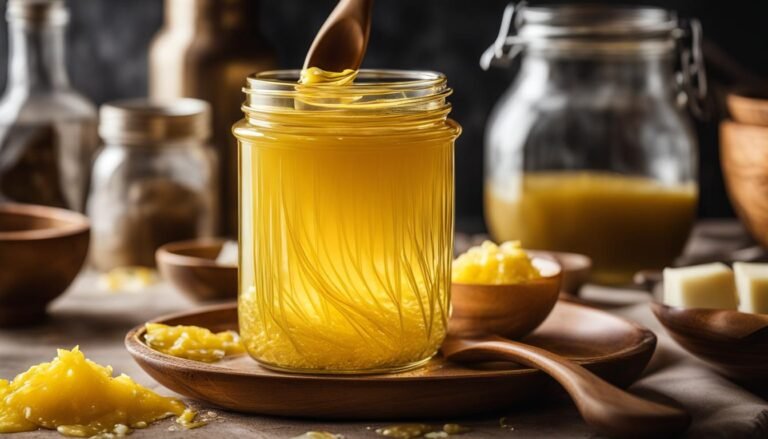
- Store the ghee: Transfer the strained ghee to a clean, airtight jar while it is still warm. Allow it to cool completely before sealing the jar and storing it in a cool, dry place.
Now you have successfully made your own homemade ghee using the step-by-step process. Enjoy the rich, nutty flavor of this versatile ingredient in your cooking!
Step by Step Ghee Making Process
Making ghee from butter involves a simple process that can be easily followed at home. The three main steps include melting the butter, separating the milk solids, and straining the ghee. Follow the step-by-step instructions below to successfully make your own ghee.
Melting the Butter
To begin the ghee-making process, start by melting the butter in a heavy-bottomed saucepan or skillet over low heat. Use unsalted butter for better control over the salt content in the final product. Allow the butter to melt slowly and avoid stirring too frequently to prevent the formation of foam on the surface.
Separation of Milk Solids
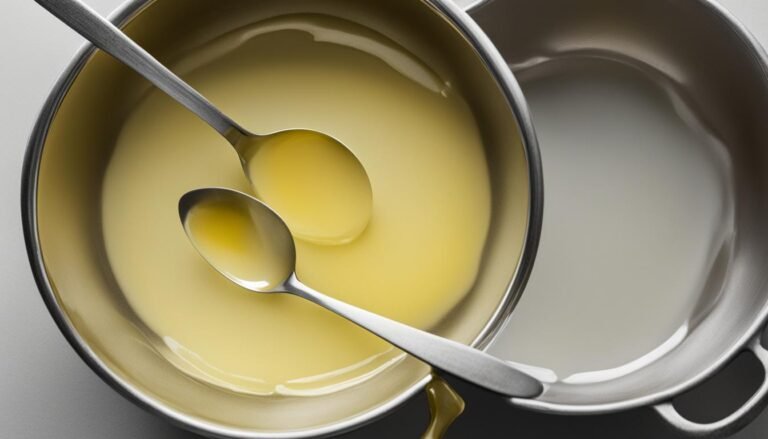
Once the butter has completely melted, continue cooking it over low heat. As the butter simmers, it will start to separate into three layers – the milk solids, clarified butter, and water. The milk solids will sink to the bottom, and the clarified butter will rise to the top. The water content will evaporate during the process.
Straining the Ghee
After simmering the butter for about 15-20 minutes, you will notice that the milk solids have turned golden brown, and the clarified butter is a clear, golden liquid. Remove the saucepan from heat and let it cool for a few minutes. Place a mesh colander or strainer lined with cheesecloth over a clean jar or container. Carefully pour the melted butter through the colander, allowing the milk solids to be strained out. The strained liquid is the homemade ghee.
Now that you have successfully made your own ghee, you can enjoy its rich flavor and incorporate it into your cooking and baking. Store the homemade ghee in an airtight container at room temperature or in the refrigerator, depending on your preference and climate.
Storing Your Homemade Ghee
Pantry vs Refrigeration: Where to Keep Your Ghee
Proper storage of homemade ghee is essential to maintain its freshness and quality. When it comes to storing ghee, you have two main options: the pantry or the refrigerator. Choosing the right storage method can help ensure that your homemade ghee stays delicious and usable for an extended period.
If you prefer to store your ghee in the pantry, make sure to keep it in an airtight container or jar. Ghee stored in the pantry remains spreadable and easy to use, as it does not solidify like butter. However, it’s crucial to store ghee away from direct heat or sunlight to prevent any changes in taste or quality.
On the other hand, refrigeration can also be an excellent option for storing ghee, especially if you live in a warm climate or prefer to keep it chilled. Storing ghee in the refrigerator helps to extend its shelf life and maintain its freshness. When refrigerated, ghee solidifies, but it will soften quickly at room temperature when you’re ready to use it.
Shelf Life and Storage Tips
The shelf life of homemade ghee depends on how it is stored. When stored in the pantry, ghee can last for several months, even up to a year, if stored properly in an airtight container. However, it’s essential to keep an eye on the ghee’s quality and check for any signs of spoilage, such as an off smell or mold.
Refrigerated ghee has a longer shelf life and can last for around 6-9 months. It’s important to note that ghee may develop a slightly grainy texture when refrigerated, but this does not affect its taste or usability.
To ensure the longevity and quality of your homemade ghee, here are some storage tips:
- Always use clean, dry utensils when scooping out ghee to prevent introducing any moisture.
- Seal the container tightly after each use to prevent air exposure and maintain freshness.
- Avoid double-dipping or using wet spoons, as it can introduce moisture and affect the ghee’s shelf life.
- If you notice any off odors, mold, or unusual changes in texture or appearance, discard the ghee to avoid consuming spoiled ghee.
Maintaining proper storage practices will ensure that your homemade ghee remains flavorful and usable for an extended period, enhancing your culinary experiences with its rich taste and aroma.
Culinary Uses of Ghee
Ghee, a staple in Indian cuisine, offers a myriad of culinary uses that make it a versatile ingredient in the kitchen. Whether used as a cooking fat, a flavor enhancer, or a healthier alternative to other oils and fats, ghee adds a distinctive richness and depth to dishes.
Ghee in Indian Cuisine
In Indian cooking, ghee holds a prized position due to its rich, nutty flavor and aroma. It is frequently used in traditional recipes to impart a buttery essence and enhance the overall taste of the dish. Ghee is particularly popular in dishes like biryanis, curries, dals, and desserts like halwa and ladoos.
Using Ghee for High Heat Cooking
One of the primary advantages of ghee is its high smoke point, making it ideal for high heat cooking methods like sautéing, frying, and grilling. Unlike other cooking fats, ghee maintains its stability and does not break down or produce harmful compounds when exposed to high temperatures. This makes ghee a preferred choice for achieving a crisp texture and imparting a distinct flavor to various dishes.
Ghee as a Flavor Enhancer
Ghee possesses the unique ability to enhance the natural flavors of other ingredients and spices in a dish. The rich and creamy nature of ghee amplifies the taste profiles of herbs, spices, and other seasonings, resulting in a well-rounded and more flavorful culinary experience. Its smooth texture and mouthfeel meld seamlessly with a variety of ingredients, adding a buttery and velvety touch to the final creation.
Conclusion
In conclusion, making ghee from butter is a simple and rewarding process that allows you to enjoy the rich flavor and cultural significance of ghee. Homemade ghee offers several benefits over store-bought options, including quality control, cost-effectiveness, and customization. By following the step-by-step instructions and using high-quality ingredients, anyone can successfully make their own ghee at home.
When you make ghee from butter, you have the power to choose the best ingredients for your recipe. By selecting high-quality butter, such as organic or grass-fed options, you can ensure that your ghee is packed with rich flavors and beneficial nutrients. Additionally, making ghee at home allows you to control the salt content, making it a healthier choice for those watching their sodium intake.
Furthermore, homemade ghee can be more cost-effective compared to store-bought options. By purchasing butter in bulk and making larger batches of ghee, you can save money while enjoying a fresh and flavorful product. Plus, you can customize the ghee to suit your preferences by adjusting the cooking time to achieve varying levels of nuttiness and richness.
FAQ
How do you make ghee from butter?
To make ghee from butter, you melt butter in a saucepan or skillet until it separates into three layers: milk solids, clarified butter, and water. Then, you skim off the milk solids, strain the clarified butter to remove any impurities, and store the ghee in a clean jar.
What is the difference between ghee and clarified butter?
Ghee and clarified butter are both made by simmering butter to separate the milk solids and water. However, ghee is cooked for a longer time, which gives it a nutty flavor and deeper color compared to clarified butter.
How long does homemade ghee last?
Homemade ghee can last for several months if stored properly. When stored in a cool, dark place like a pantry, it can stay fresh for up to six months. If refrigerated, ghee can last for up to one year.
Can I use salted butter to make ghee?
It is recommended to use unsalted butter when making ghee because it allows you to have better control over the salt content in the final product. Using salted butter may result in a saltier ghee.
Can I make ghee from margarine or vegan butter substitutes?
Ghee is traditionally made from dairy butter. Margarine or vegan butter substitutes may not provide the same flavor and consistency as traditional ghee. It is best to use dairy butter for authentic ghee.

